If you haven’t noticed yet, the launcher is now gone when you start up Tabletop Simulator. That’s because there is a new configuration menu in-game. So you no longer need to exit to make any changes. Additionally, we have now included Andrew’s Deck Builder into Tabletop Simulator to make creating your decks that much easier.
And just in time, we have the latest Tutorial Video featuring Custom Content. If you want to learn how to use the Deck Builder, then please watch this video as it will take you through the steps.
https://www.youtube.com/watch?v=kQ56RjFqnj4
It will be a few weeks before we get our next update out as it will be our big 4.0 update and like all of these “special” updates, we want to make it a good one. Thanks for your patience and enjoy!
Configuration Menu:
- Launcher has been removed from the game.
- You can now change your keybinds and graphics settings in game.
- Settings menu has been renamed to configuration and has been given an overhaul.
- You can now modify individual graphics settings instead of just using the preset values.
- You can now reset controls, graphics, and game settings to default separately.
- New graphics settings (VSync, Texture Size, Post AA, MSAA, Shadow Quality, Anisotropic, Cap FPS).
- New anti-aliasing support called Post AA (SMAA post processing version).
- You can now see the SteamID of blocked players.
- Chat is now rebindable in the controls menu.

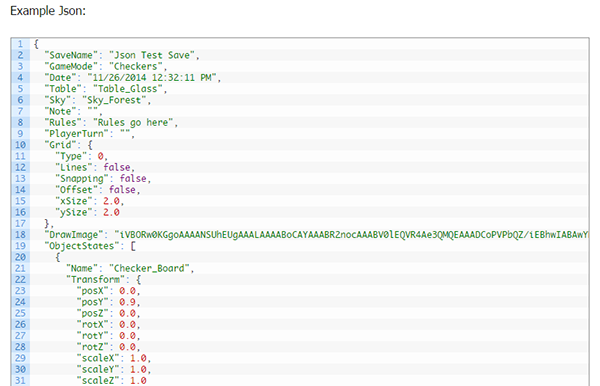
Deck Builder by Anwinity:
- We reached out to Andrew Mazar the creator of the very popular Deck Builder.
- His Deck Builder is now bundled in the games root and modding folder.
- Deck Builder allows you to easily create & modify custom decks.

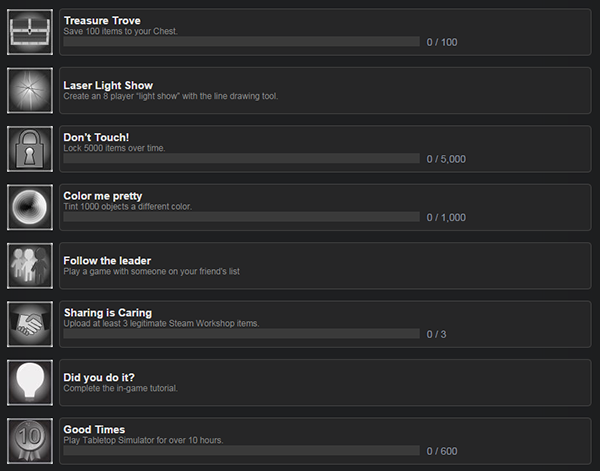
Saved Chest Improvements:
- You can now save multiple selected objects as one chest item.
- Spawning saved objects will produce the same sound as spawning other objects from the chest.
- Saved object will now snap to the grid when spawned.
Save Improvements:
- Custom backgrounds can now be loaded from a save with the expand arrow without resetting the board.
- Improved object naming when expanding a save to see custom objects inside.
- Delete and expand save buttons now only appear when mousing over a save/workshop file.
- Reduced scrolling stutter on Saves and Workshop files.

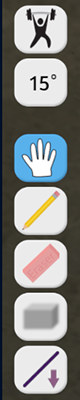
Draw Tool Improvements:
- Doubled the resolution of the paintingtool (still blocky, but better).
- Optimized the network traffic when rewinding through time with something drawn on the table.
General Improvements:
- Added back in randomized backgrounds when the game is started.
- Rewind/fastforward messages are now sent to everyone on the server.
- Improved the texture quality on custom assets using a slight negative mipmap bias.
- Optimized card search to work with more cards (will optimize more in the future).
- Added new Workshop Tags (Backgrounds and templates).
Fixes:
- Fixed loading one custom background to another not updating the background.
- Fixed issues loading large file sized saved objects when promoted.
- Fixed weird turn bugs that would break entire game for the host.
- Fixed problems with long rules sections not being properly transferred.
- Fixed certain custom decks not showing up when expanding a save.
- Fixed being unable to create a save if there were no saves created already.
- Fixed custom backgrounds being horizontally inverted.
- Fixed custom physics materials reverting to default incorrectly.
- Fixed being able to delete the create save button.
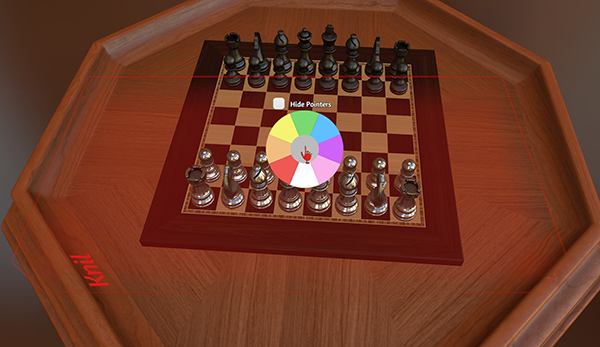
- Fixed the pointer selection menu not displaying the pointers properly.
- Fixed the RPG figurines missing their stands.
- Fixed the RPG figurines not properly displaying in the chest.
Stay up to date on our development by following us on Twitter and Facebook!